How to Fix the Buffalo Linkstation NAS – Partition Not Found Error
Recently I picked up a Buffalo Linkstation 220 to play around with at home as I felt that I could use a bit of additional storage to play around with. Note that this previous statement is pretty much a lie. I have tons of storage, and was really just looking for an new toy to play around with. Basically I just had a few disks laying around that I wanted to put to use.
However, much to my dismay the I was unable to configure the device once I shoved in the disks, powered it up, and connected to it with the Buffalo Smart Phone Navigator. I figured that this was not a big deal however, so I tried the installable Windows App from my Windows 7 Vm. The Buffalo NAS Navigator was also able to connect to the device, however the device showed that it was currently booted in what was called “Emergency Mode”. Not sensing a real emergency, I did not panic.
See borrowed image below.
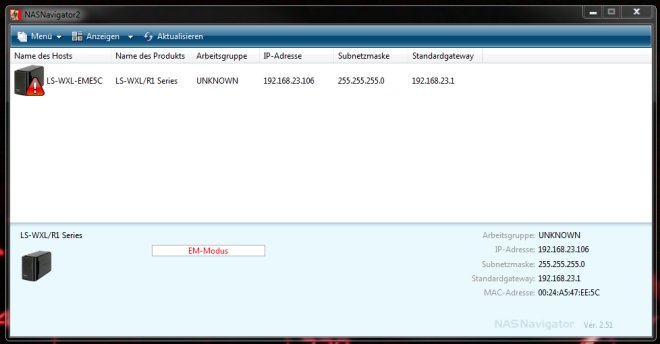
Fortunately the site that I borrowed the above image from (here) and this site (here) give advice on how to fix the issue. First step is to download the Buffalo Linkstation Firmware Updater that you can get here. Both pages advise you to modify the LSUpdater.ini file. However their instructions did not work for me. The exact changes, and the LSUpdater.ini in its entirety are below.
[code language=”css”]
[Application]
Title = BUFFALO LinkStation Series Updater Ver.1.62
WaitReboot = 1200
WaitFormat = 600
WaitFileSend = 600
WaitDiscover = 120
[Target]
ProductID = 0x80000000
ProductID2 = 0x0000001D
ProductID3 = 0x0000300D
ProductID4 = 0x0000300E
ProductID5 = 0x00003011
Name = LinkStation
[Flags]
VersionCheck = 0
NoFormatting = 0
[SpecialFlags]
Debug = 1
[/code]
At this point you launch the updater again, and select “Update“. This fully partitions the drives and then updates the firmware. This process takes a while, so be patient. Now you can launch the NAS Navigator and configure the device.